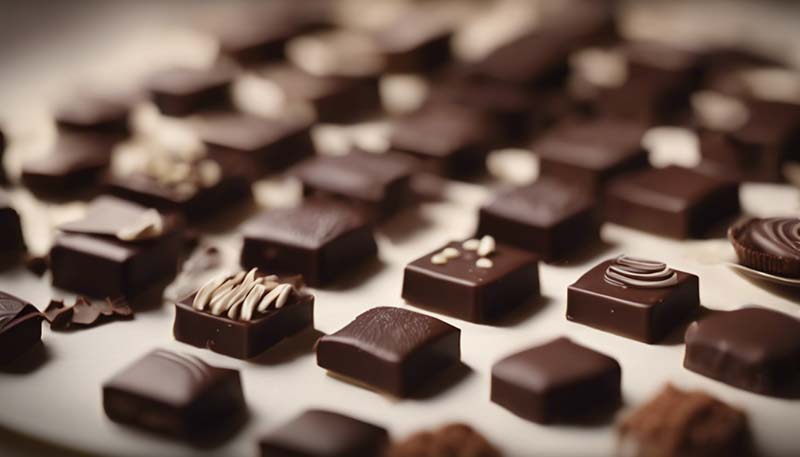
How to Make Your Own Gourmet Chocolates
Creating your own gourmet chocolates at home can be a rewarding and delicious experience. With a little patience and the right techniques, you can craft confections that rival those from high-end chocolatiers. In this guide, we'll walk you through the steps to make your own chocolate masterpieces from scratch.
Ingredients
- High-quality cocoa butter
- Unsweetened chocolate
- Sugar
- Whole milk powder
- Vanilla extract (or other desired flavorings)
- Lecithin (as an emulsifier, optional)
- Decorative elements (e.g., nuts, dried fruits, edible glitter)
Equipment
- Double boiler or a heatproof bowl set over a pot of simmering water
- Chocolate tempering machine or marble slab
- Digital thermometer
- Chocolate molds or a silicone mold
- Spatula or wooden spoon
- Parchment paper
- Piping bag or plastic bag with a small corner snipped off (for fillings)
Steps
1. Prepare Your Work Area
Ensure your work area is clean and free of any moisture or water, as this can affect the quality of your chocolate.
2. Melt the Chocolate
Using a double boiler, gently heat the cocoa butter and unsweetened chocolate, stirring constantly until fully melted and combined. Be careful not to overheat, as this can cause the chocolate to burn or lose its shine.
3. Add Dry Ingredients
Once the chocolate is melted, remove it from the heat and stir in the sugar and milk powder. If you're using lecithin, add it now to help with the emulsification process.
4. Temper the Chocolate
Tempering is a crucial step for achieving a glossy finish and a snap when you break the chocolate. Follow these steps:
- Cool the chocolate mixture to around 81°F (27°C).
- Reheat it carefully to 88-90°F (31-32°C) for dark chocolate or 86-88°F (30-31°C) for milk chocolate.
- Cool it down again to around 82°F (28°C) before using.
5. Fill the Molds
Pour the tempered chocolate into your molds, ensuring they are filled evenly. Tap the molds gently on the counter to remove any air bubbles.
6. Add Filling (Optional)
If you want to create filled chocolates, pipe or spoon your desired filling into the molds. Top with more tempered chocolate to enclose the filling completely.
7. Set the Chocolate
Allow the chocolates to set at room temperature or in the refrigerator for a faster set. Once set, carefully remove them from the molds.

8. Decorate and Store
Add any decorative elements like nuts, dried fruits, or edible glitter. Store your chocolates in an airtight container in a cool, dry place away from direct sunlight.
Tips for Success
- Use high-quality ingredients for the best taste.
- Be patient with the tempering process; it's worth the effort for professional-looking results.
- Experiment with different flavorings and fillings to create a variety of chocolates.
- Always store your chocolates properly to maintain their freshness and quality.
With these steps, you're well on your way to becoming a home chocolatier. Enjoy the process and the delicious results of your labor!
Leave a Comment