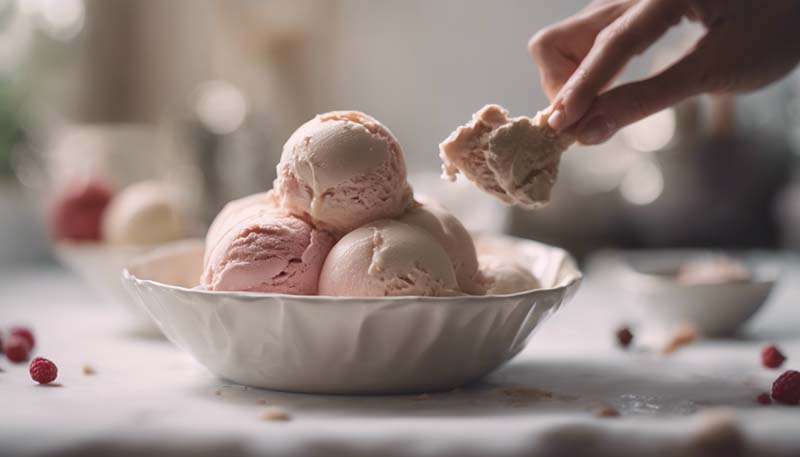
How to Make Creamy, Dreamy Ice Cream at Home
Making ice cream at home can be a fun and rewarding experience. Not only do you get to enjoy a delicious treat, but you also get to control the ingredients and customize the flavor to your liking. In this guide, we'll walk you through the process of making creamy, dreamy ice cream at home.
Introduction
Homemade ice cream is a delightful treat that can be enjoyed by people of all ages. It's a great way to cool off on a hot summer day or to satisfy your sweet tooth any time of the year. With a few simple ingredients and some basic equipment, you can make your own ice cream at home that's just as good, if not better, than store-bought.
Ingredients
Before we get started, let's talk about the ingredients you'll need to make creamy, dreamy ice cream at home:
- 2 cups heavy cream
- 1 cup whole milk
- 1 cup granulated sugar
- 1 teaspoon vanilla extract (or your favorite flavoring)
- 2 large egg yolks (for a richer texture)
- Salt (to taste)
Equipment
In addition to the ingredients, you'll also need the following equipment:
- A mixing bowl
- A whisk or electric mixer
- A thermometer
- An ice cream maker (or a stand mixer with a paddle attachment)
- A large mixing spoon
- Parchment paper
- A lid or plastic wrap
Instructions
Step 1: Prepare the Ingredients
Start by gathering all of your ingredients and equipment. Make sure everything is clean and ready to use.
Step 2: Heat the Milk and Cream
In a mixing bowl, combine the heavy cream and whole milk. Heat the mixture over medium heat until it reaches a temperature of about 175°F (80°C). Be careful not to let it boil.
Step 3: Temper the Egg Yolks
In a separate bowl, whisk the egg yolks until they're light and frothy. Gradually pour some of the hot milk and cream mixture into the egg yolks, whisking constantly to temper the yolks and prevent them from scrambling.
Step 4: Cook the Custard
Pour the tempered egg yolks back into the milk and cream mixture. Cook the mixture over medium heat, stirring constantly, until it thickens and coats the back of a spoon. Be sure to use a thermometer to monitor the temperature, which should reach about 170°F (77°C) to 180°F (82°C). If you're not using a thermometer, you can also test the custard by placing a few drops on a cold plate; if it forms a thickened layer, it's ready.
Step 5: Add Flavorings and Sweetener
Remove the custard from the heat and stir in the sugar and vanilla extract (or your chosen flavoring) until they're fully dissolved. If you're using a different type of sweetener, such as honey or maple syrup, you may need to adjust the amount to achieve the desired level of sweetness.

Step 6: Cool the Custard
Place the bowl of custard in an ice bath to cool it down quickly. Stir the mixture occasionally to ensure it cools evenly. Once it's cooled to room temperature, cover the bowl with parchment paper and plastic wrap to prevent a skin from forming. Refrigerate the custard for at least 4 hours, or overnight for best results.
Step 7: Churn the Ice Cream
When the custard is thoroughly chilled, remove it from the refrigerator and pour it into your ice cream maker. Churn the mixture according to the manufacturer's instructions, which usually takes about 20-30 minutes. The ice cream will have a soft, creamy texture when it's done.
Step 8: Transfer to a Container
Once the ice cream is churned, transfer it to a lidded container. Use a large mixing spoon to spread the ice cream evenly in the container. Cover the surface of the ice cream with a piece of parchment paper to prevent ice crystals from forming.
Step 9: Freeze the Ice Cream
Place the container in the freezer for at least 4 hours, or until the ice cream is firm. For the best texture, allow the ice cream to sit at room temperature for a few minutes before serving.
Tips and Variations
Here are some tips and variations to consider when making homemade ice cream:
- Use a Different Flavoring: While vanilla is a classic choice, you can also experiment with other flavorings such as chocolate, coffee, or fruit purees.
- Add Mix-ins: Once the ice cream is churned, you can mix in your favorite mix-ins, such as chocolate chips, nuts, or fruit pieces.
- Adjust the Sweetness: Depending on your taste preferences, you may want to adjust the amount of sugar in the recipe. Start with less and gradually add more until you reach the desired level of sweetness.
- Use an Alternative to Egg Yolks: If you're allergic to eggs or simply don't have any on hand, you can use cornstarch or arrowroot powder as a thickener instead of egg yolks.
- Make a Sorbet: If you want a lighter, fruit-based dessert, you can make a sorbet by omitting the cream and milk and using fruit juice or puree instead.
Conclusion
Making homemade ice cream is a fun and delicious way to enjoy a classic treat. With a few simple ingredients and some basic equipment, you can create a creamy, dreamy dessert that's perfect for any occasion. Whether you're serving it at a party or enjoying it as a midday snack, homemade ice cream is sure to be a hit.
So go ahead and give this recipe a try. You might just find that making ice cream at home is easier than you thought, and the results are definitely worth it.
Leave a Comment